Making panniers actually STAY on my bike rack!
Before
As described in my upcycled flat-bottomed drawstring bike pannier liner bags writeup, I purchased new bike panniers in July 2021. The bike liner bags that I made for the panniers worked well, but the panniers themselves did NOT. The problem? They would fall off my bike, or — on one particularly frustrating occasion — the hook that secured the pannier to the bottom fork of the rack came loose and then got completely tangled in the spokes. The hook was so tangled that I had to undo the elastic knot that attached it to the pannier in order to wedge the pannier out of the spokes.

Before: here's a picture of the back of one pannier, showing what it looked like when it arrived in the mail. The two top hooks went over the bike rack. The bottom hook hooked under the bottom fork of the bike rack. In theory, the three hooks together would keep the pannier on the bike. In practice, when I went over a bump in the road, the panniers would either fall off or the bottom hook would unhook and then get tangled up in the spokes of the bike wheel.

Before: Here's the "offending hook:" it offended me by getting caught in my bike spokes. I had to separate it from the pannier in order to get the pannier off the bike.
After
I found a solution by thinking about a previous pair of panniers I had owned, which attached to the bike rack more securely. Instead of the three hook system, these older panniers had attached to the rack just at the top bar, with clips. The clips were more secure than the hooks. Also, not having the bottom hook meant that there wasn't anything to get tangled in the spokes. Reflecting on the difference between my older working panniers and my current non-working panniers, I decided to 1) remove the bottom hook and 2) mimic the security of clips by making it possible to tie the pannier to the top of the bike rack.
I was able to remove the bottom hook by just undoing the elastic loops and taking out a few stitches of the cloth straps that attached to the hook. I then sewed these cloth straps to the bike pannier at the top inside, so that I could tie each pannier to the top bar of the bike rack in the middle. I added additional straps on either side, so that each pannier could be secured to the rack with three knotted ties. It takes a bit of time to tie the pannier to the rack, but, 98% of the time, the panniers do actually stay on my bike. If I could do all of this over again, I'd probably shell out the money for clip-y, closed top panniers rather than buying the less expensive open top, hook-style panniers and spending a whole bunch of my time fixing them. (Time = money). But, I'm proud of my souped up panniers.
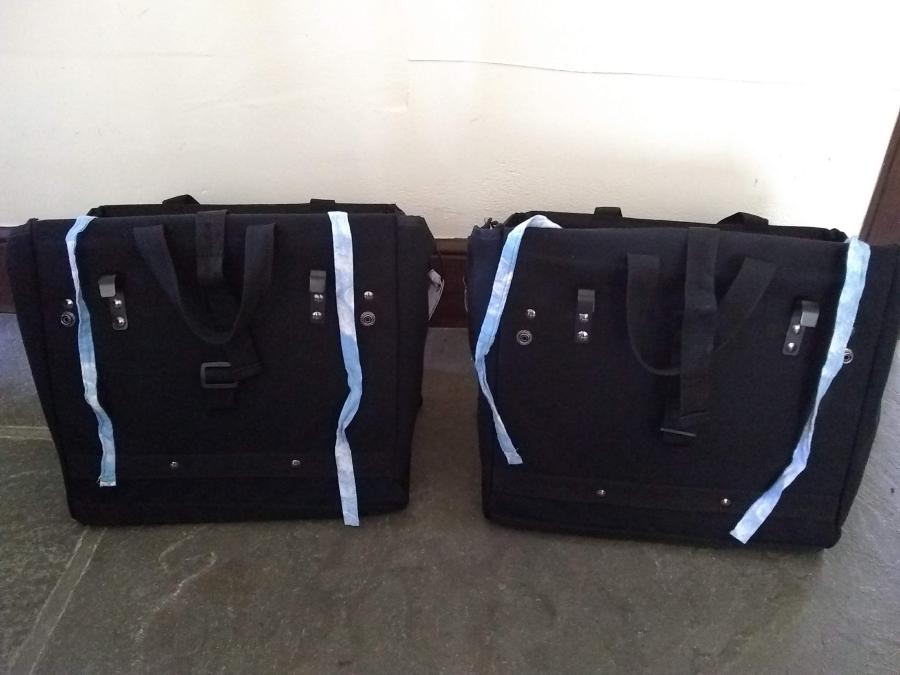
After: here's a back view of the panniers, unmounted. The two top hooks remain, but the cloth straps that attached the bottom hook to the panniers have been repurposed as cloth ties in the center top of the panniers. And I've added two cloth ties — in the perennial blue cloud print — to either side of the top of the panniers.

After: an inside view of a pannier, with the three straps sewn into the top on the inside. I used contrasting pink thread so that, down the road, I'll be able to notice more easily if the stitching is coming loose.

After: the panniers (with liner bags) on my bike after a CSA share pickup. Note that the panniers are tied to the rack with their new straps.
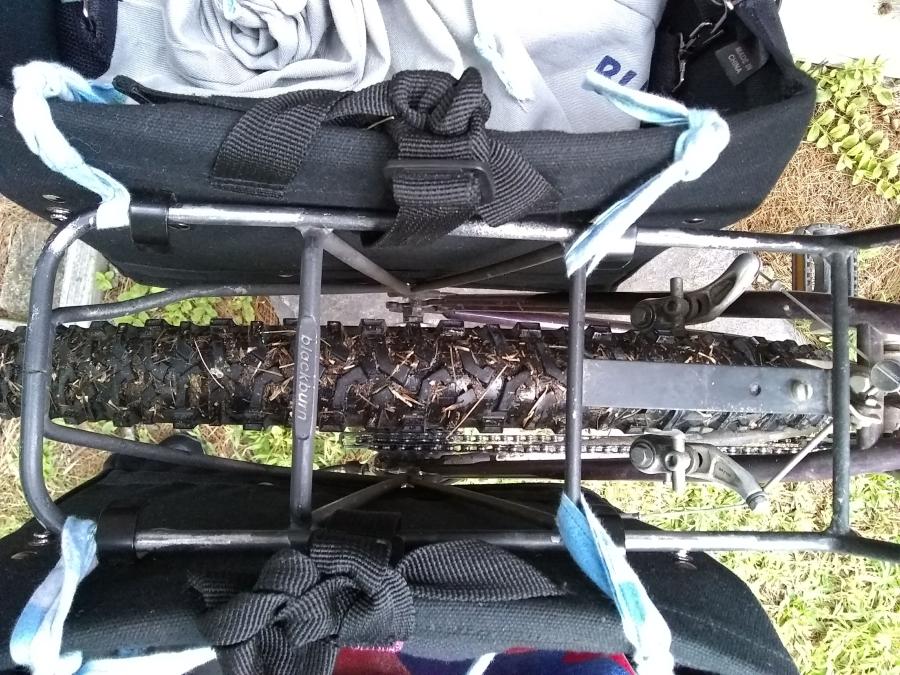
After: The bike rack viewed from the top, showing the new straps I sewed onto the panniers.